


If you’ve searched endlessly for the right tupperware lid, bought double the ingredients because you couldn’t find it in your pantry or struggle to keep the kitchen looking even somewhat clean, then it might be time to give your kitchen some attention. Contrary to what a lot of people think, you don’t need an enormous space to have a functional kitchen – it’s more about how you organize the space you do have!

You also don’t need a major overhaul to banish clutter and become organized – just a few handy tips and tricks to get you started. Here’s what we suggest to optimize your space and get a functional kitchen space you actually enjoy being in!
Pull it Out and Purge
To start, it’s important to literally see every item in your kitchen and start from a blank slate. So pull it all out and assess the damage!
Think about each item: is it necessary? Does it work? Do I love it?
This step can be really hard but consider the goals – to have a functional space, to have as clear a counter as possible, and to actually enjoy being in the kitchen. Once you’ve gone through your items, you should have a keep section, a toss section and a donate section.

Source: Cortney Bishop
Do a Deep Clean
Because you have everything out of your cabinets and drawers, this is the perfect time to give everything a good wipe down. You’d be surprised how great that will feel, especially when you go to put everything back in its place.

Source: I Heart Organizing
Define Your Zones
Before you start to put anything back, assess your entire kitchen and group cabinets and drawers into zones. The easiest way to do this is to have a notepad and pen and write it down, including which items belong in which zones. Here’s an example of what that would look like:
- Zone 1: Everyday (easiest to access, close to dishwasher if possible)
plates, bowls, basic glassware, cups, serveware, cutlery
- Zone 2: Cooking (locate close to oven or range)
pots, pans, dishes, cutting boards, spatulas, wooden spoons, measuring cups/spoons, mixing bowls, any other baking items, etc.
- Zone 3: Pantry
dry goods, spices, larger kitchen gadgets, etc.
- Zone 4: Accessories & Storage (near fridge if possible)
tupperware, food storage, food wrap, ziploc bags, tin foil, to go items, etc.
- Zone 5: Coffee and Bar
coffee cups, pods, coffee accessories, coffee pot or keurig, barware such as wine glasses, shot glasses, other glassware, bar accessories, etc.
- Zone 6: Under the Sink
cleaning supplies, extra hand soap, garbage bags, recycling etc.
- The 7th zone could be your special items, like serveware that you typically only use when hosting or special pottery/keepsakes. Our advice though would be to try and keep items you only genuinely use and if it’s not often, then perhaps storing in another area of the house like the dining room or garage would serve you better.
The same rules apply to your fridge – group items together and determine the best layout for your shelving inside!
READ: 5 Pricey Kitchen Gadgets That Are Totally Worth It

Source: @patticakewagner
Position Correctly
Now that you know which items go where, think about how you position them. Keep items you use the most at eye level and the pieces that see a little less use further away or up higher. If you can’t easily see or access something, the less likely you are to use it.
Same goes for the pantry! Consider unloading cereals, baking goods, pasta and rice for instance, into clear containers. You’ll have more room, they will keep better and you’ll actually be able to see everything! Position things you use the most, like cereal, where it’s easiest to access.
Source: Lonny
Get Creative
Want to take it a step further? Start to get creative with your organization and determine which hacks will work best in each zone.
For example:
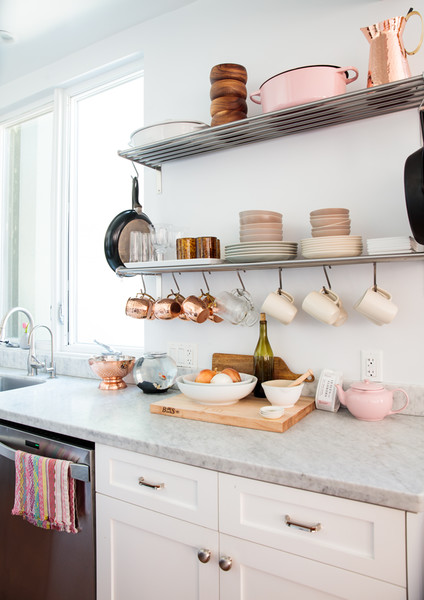
- Install a hanging rack for pots and pans to free up cupboard space
- Mount a rack for spices and actually alphabetize it
- Have a tall pantry door? Hang a clear shoe organizer to make use of that space
- Make use of drawer organizers and dividers to keep everything super accessible
- Use standing dividers for things like baking sheets and cutting boards
- Wire shelving or pull out units are mega handy – especially under the sink
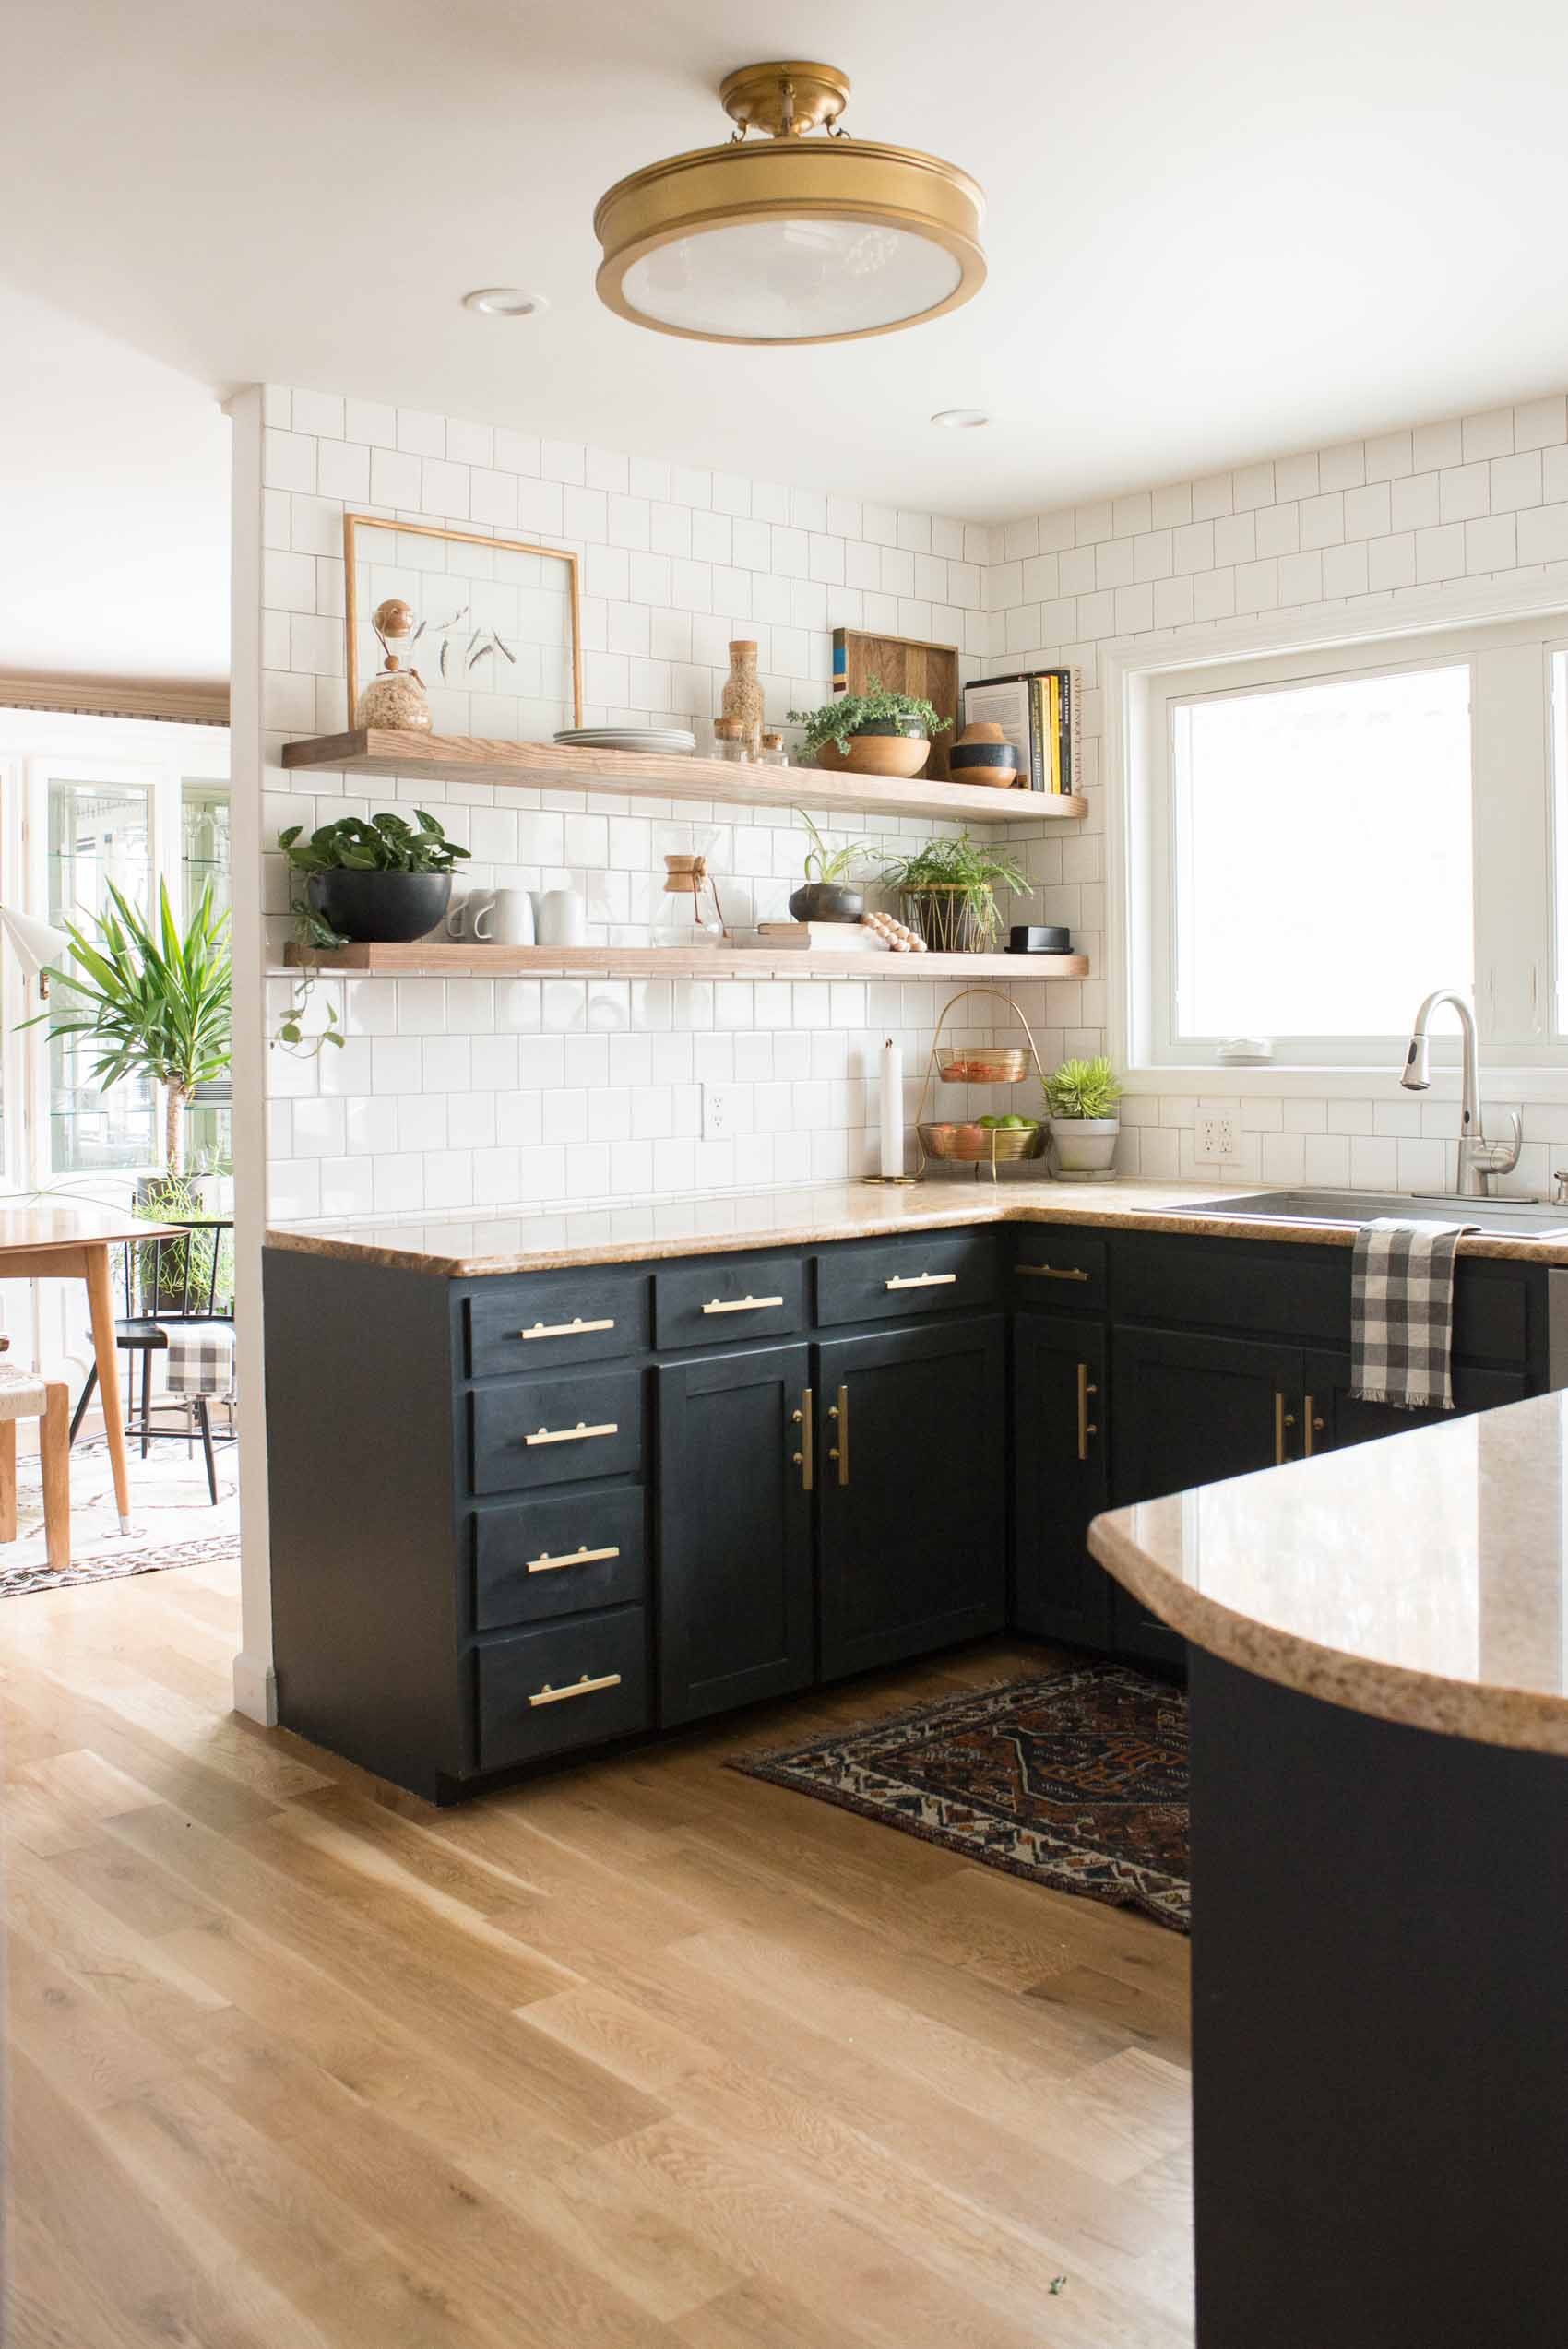
- Utilize wall space (magnetic knife holders, fresh hanging herbs, hooks for hanging almost anything!)
- Install a cork board on the inside of your cupboard doors to hang small items or display your most used recipes
READ: 10 Easy Weekend Projects for a Better Kitchen (Renter’s Edition)
Source: Design Sponge
Keep On It
After a month, take a moment to reflect on how the organization is going. Define any problem areas and reevaluate. Try to stay on top of the pantry and make it a yearly goal to do a declutter.
