

 "
"I am a girl who loves a good manicure. And in COVID times, I need a tried and true at-home routine to rely on. Enter Olive & June. O&J is a nail care brand featuring everything from polish to cuticle serum to pedicure kits, all aimed to elevate the at-home experience. Back in June, I purchased their Summer 2020 Collection and instantly became obsessed because the colors are so vibrant and playful.

Don’t be surprised when these become your new uniform. Use code TEG15 for $15 off!
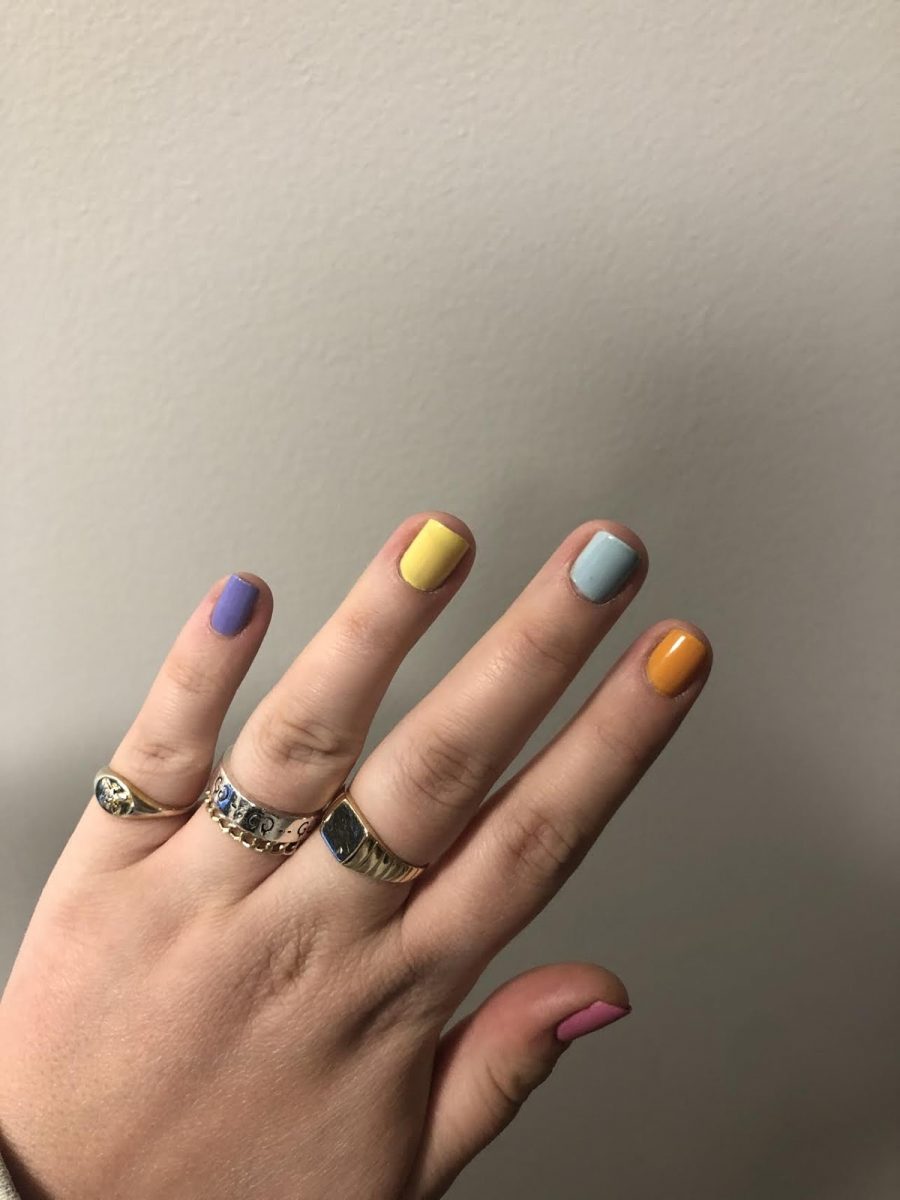
For my experiment, I used this collection while painting each nail a different color—mostly for fun but also for a test on different shades. Here we go:


Day 1
Here are what my nails looked like right after painting them. I used three coats for each, and the color came out creamy and opaque on every nail. To be honest, I could have gone with two coats and the payoff still would’ve been great. The brush is just thick enough to evenly coat the nail. Most O&J kits also come with the “Poppy,” a rubber attachment to make applying polish even easier.
Days 2-4
On days two and three, I found myself shocked at how shiny and fresh the color still looked. I should say I am very harsh on my nails with constant hand-washing and scrubbing dishes. I was happy to find my manicure was looking just as good during this time as it did from day one. These days, I applied a bit of the O&J cuticle serum to keep my nails looking extra fresh and hydrated.

Day 5
Day five was when I saw my first chip. I will say this may be more on me than it was on the polish since I had snagged my nail on an especially chunky sweater. Life happens. But the rest of the nails still looked almost as good as new—shiny and opaque.
Day 6
Around day six, I started to see the slightest bit of chipping at the top of my nails. After a bit of research, I learned that you should paint the actual tip of your nail to prevent this. Heed this warning! I’m sure if I had followed this rule, my mani would have lasted a bit longer.

Day 7-9
I lump together days 7-9 as the end of my experiment. Through this, I have discovered I prefer a Sunday to Sunday schedule for painting my nails. I think repainting your nails every seven days with this polish is the real sweet spot. Otherwise, if you’re anything like me, you get a few chips here and there that you fixate on and pick at… and then it’s all over from there.
Day 10
On day 10, I finally took the polish off! I was ready to feel free again. After having embarked on this journey, I put all of my faith in Olive & June. While, sure, I had a few chips, I was incredibly impressed by the color payoff, the creamy texture, opaqueness, and just how fun these shades are. I also found upon removing the polish that my nails didn’t feel brittle like they sometimes do after removing polish. Plus, during a normal (non-nail experiment) week, I definitely could do a quick touchup on chips and move on with my day. And if you’re looking to elevate your mani experience even further, I would recommend using the Olive & June cuticle serum, which will help your polish last longer and condition your nailbeds. Thank you O&J for bringing the nail salon to my cozy living room.