When it comes to home projects, I believe that no space should be off limits, including the ones you might not think of first. It makes sense to want spaces like the kitchen or the living room to be aesthetically pleasing since you probably spend a lot of time there. But I also love making over the tiny spaces that we frequent less often—like the laundry room.
In my home, the space that houses my washer and dryer isn’t really a room. It’s more of a closet with a wire shelf that’s enclosed by bifold doors. You can walk by it without giving it much thought, and the interior is nothing special: just a couple of bulky machines and a row of clutter lining the shelf.

Source: Kristen Garaffo
Prior to this update, I had a long list of home projects I was itching to get to, and finding a perfect spot to apply peel-and-stick wallpaper was at the top. Wallpapering a bedroom or kitchen wall seemed too bold, but it dawned on me that the laundry room would be a safe way to make a statement. The wall behind the washer and dryer was small, and if I ended up hating it, I could always just shut the door and no one would know. It was also an excuse to go through all of the clutter that lined the shelf. Win-win!

Source: Kristen Garaffo
My Renter-Friendly Laundry Room Makeover
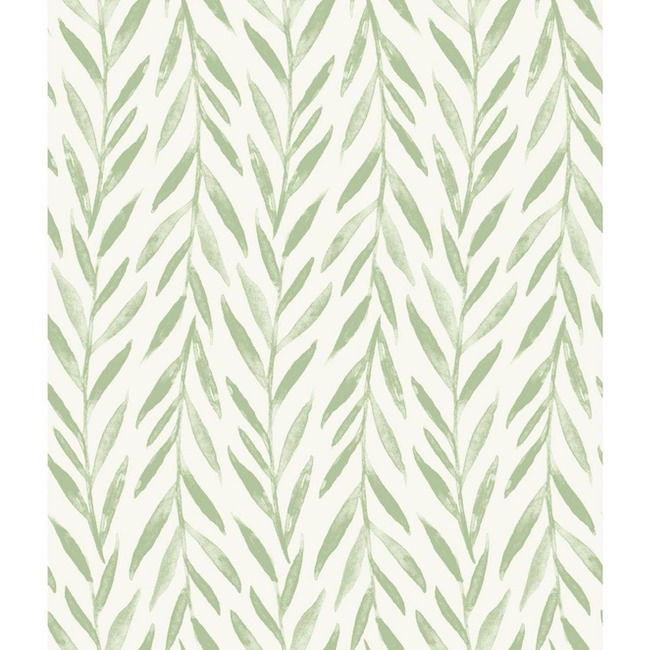
My husband and I spent a Saturday afternoon putting up this pretty green botanical-inspired print, and the impact was immediate. It brightened up the space, added color, and offered a fun surprise upon opening the doors. The only problem? The shelf full of laundry essentials was a big eye sore. We needed a way to hide the bright orange Tide bottles, and luckily, a quick trip to Target for storage baskets solved the problem in no time. Our once-boring laundry room was transformed by the simple additions of wallpaper and storage baskets, and the project only took a few hours!
I love a good weekend home project, and if you’re inspired to give your laundry room a makeover, here are a few things I’d recommend before diving in:
Measure and Prep Your Wall
To ensure you buy enough wallpaper to cover your wall of choice, get out the tape measure and start measuring. Many sites that sell wallpaper have a wallpaper calculator, which makes it easy to know how many rolls to buy. Otherwise, use your measurements to do the math yourself. My laundry room is very small, so one roll was enough! Before you start peeling and sticking, prep your wall by wiping it down with a sponge or a cloth to get rid of any dirt or dust. Then, let the wall dry completely, so the wallpaper sticks properly.
Start From The Top and Embrace Imperfection
The best way to apply wallpaper is to peel away a small amount of backing, line it up with the top of the wall, and slowly work your way down. But shortly after I started applying the wallpaper in my laundry room, I learned that walls aren’t always straight. No matter how many times I tried, I couldn’t get the wallpaper to perfectly align with the wall’s edge. And then I realized it wasn’t the paper that was crooked—it was the wall. To add to the frustration, I also found little air bubbles across the wallpaper’s surface. It wasn’t exactly the seamless look I was hoping for.
Looking back now, I would have saved myself a lot of stress if I had realized earlier that imperfection is part of the process. To disguise wonky alignment, you can always slightly overlap the strips of wallpaper so the design stays consistent. I also discovered an easy fix for air bubbles: Simply pop them with something sharp (like a safety pin) and smooth them out.
Enjoy The View
No matter what your peel-and-stick wallpaper looks like, it’s going to change the feel of the room. Enjoy the new view once your paper is up! Still worried about small imperfections? I bet that from a distance, the imperfections are hardly noticeable. When I’m doing laundry, I don’t notice the popped air bubbles or the slightly overlapping strips that I know are there. Instead, I simply appreciate the overall effect of my new accent wall. Doing laundry is now a little more enjoyable!
Hide Your Clutter
Decorative storage baskets are my love language. They can turn a pile of everyday essentials that don’t exactly fit the vibe into a cohesive part of your design. In this case, I use baskets to store laundry detergent, dryer balls, stain removers, and other household items like dish towels and cleaning supplies. If you live in an apartment that’s short on storage space, the shelf in your laundry room is a great spot to maximize. Plus, clutter-hiding baskets can work anywhere in your home, not just in the laundry room! They’re great for places like the entryway, closets, or the TV stand. Just be sure to sort through your clutter first before dumping it all into a basket!

Get the look of this laundry room makeover:


 "
"

