

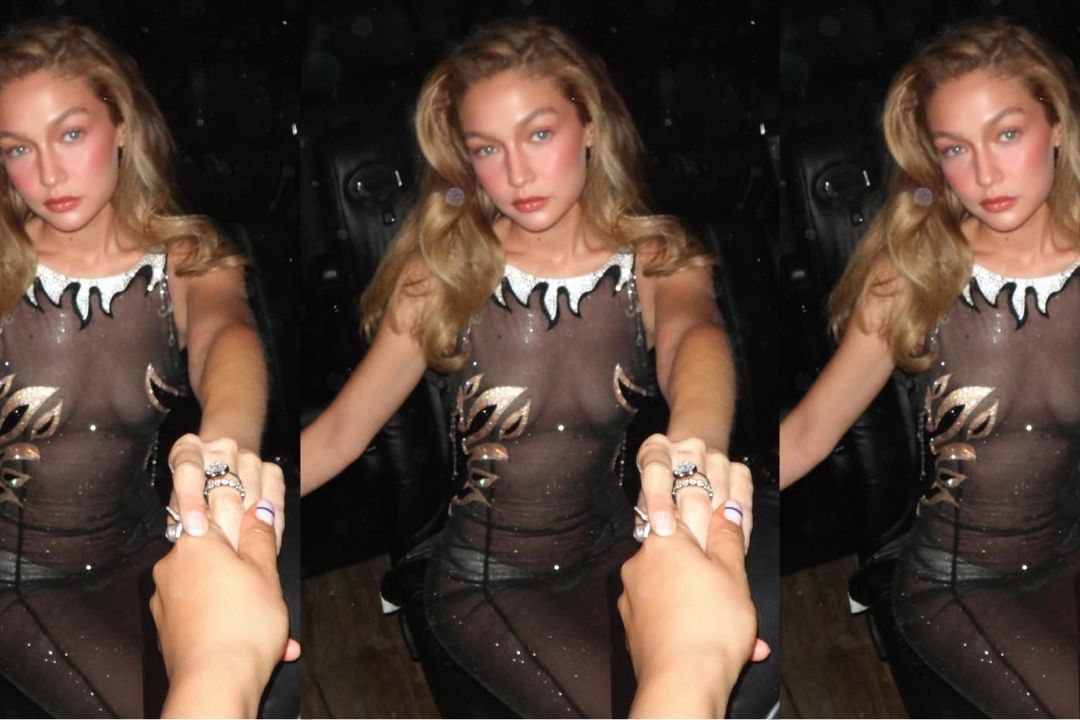
If your entire FYP suddenly looks like a 1995 supermodel casting call, you’re not imagining things. Big, bouncy blowouts are officially back. And somehow every celebrity, influencer, and certified it-girl has mastered that glossy, face-framing volume that makes hair look effortlessly glamorous.
The comeback feels inevitable. After years of beach waves, slick buns, and “clean girl” minimalism dominating our beauty routines, there’s something refreshing about hair that actually has a little drama. “The return of the ’90s blowout reflects a broader desire for glamour, polish, and healthy-looking hair,” says Adam Federico, Vice President of Technical Education at R+Co. Instead of chasing perfectly undone texture, we’re leaning into “movement, shine, and volume that feels luxurious without feeling overdone.”
T. Cooper, celebrity hairstylist and founder of Major Face, has noticed the same shift, explaining that people are craving hair that looks “intentionally styled, healthy, and sexy.” And honestly? They’re right. Few hairstyles make you feel as instantly put together as a great blowout.
The best part is that today’s version isn’t the stiff, overly-hairsprayed style you might remember from decades past. The modern, ’90s-inspired blowout is all about “touchable hair that actually moves,” says Cooper. It delivers all the body and bounce of the original but with a much softer, more wearable finish. Even better, modern tools like Velcro rollers make achieving that signature lift easier than ever—no salon appointment or Olympic-level arm strength required.
So I put three popular at-home ’90s blowout techniques (approved by the pros) to the test to figure out which ones actually create that expensive-looking lift without turning your hair into a helmet. Here’s what I found:
The Classic Rollers ’90s Blowout Method

Volume: 5/5
Ease of use: 4/5
Lasting power: 5/5
Total score: 14/15
This classic round brush and Velcro roller combo is the gold standard for achieving that signature ’90s blowout. And after trying it myself, I totally understand why it’s stood the test of time. If it was the secret behind iconic ’90s supermodel blowouts, it’s definitely good enough for me.
It did take a little more effort upfront than simply blow-drying my hair, but the payoff was exactly what I had been chasing: that signature lift with soft, glossy movement instead of stiff, over-styled volume. As Federico explains, the magic starts before you even pick up the dryer. He recommends layering R+Co DALLAS Thickening Spray at the roots with lightweight styling mousse through the lengths to create lift, fullness, and enough memory for the style to actually last.
The real game-changer, though, was rolling each section into a Velcro roller while it was still warm. Federico says allowing the hair to cool in the roller is what “creates lasting memory, body, and bounce.” After trying it myself, I completely get the hype. Once I took the rollers out and brushed everything through, my hair looked full, bouncy and incredibly soft, like I’d just walked out of a salon instead of standing in my bathroom for 30 minutes.
A light mist of R+Co OUTER SPACE Flexible Hairspray locked everything in place without sacrificing movement, and a drop of smoothing oil gave the ends that glossy, expensive-looking finish. This is absolutely the technique I’ll be coming back to whenever I want my hair to look like it has its own fan club.
The Clip Set ’90s Blowout Method
Volume: 5/5
Ease of use: 3/5
Lasting power: 5/5
Total score: 13/15
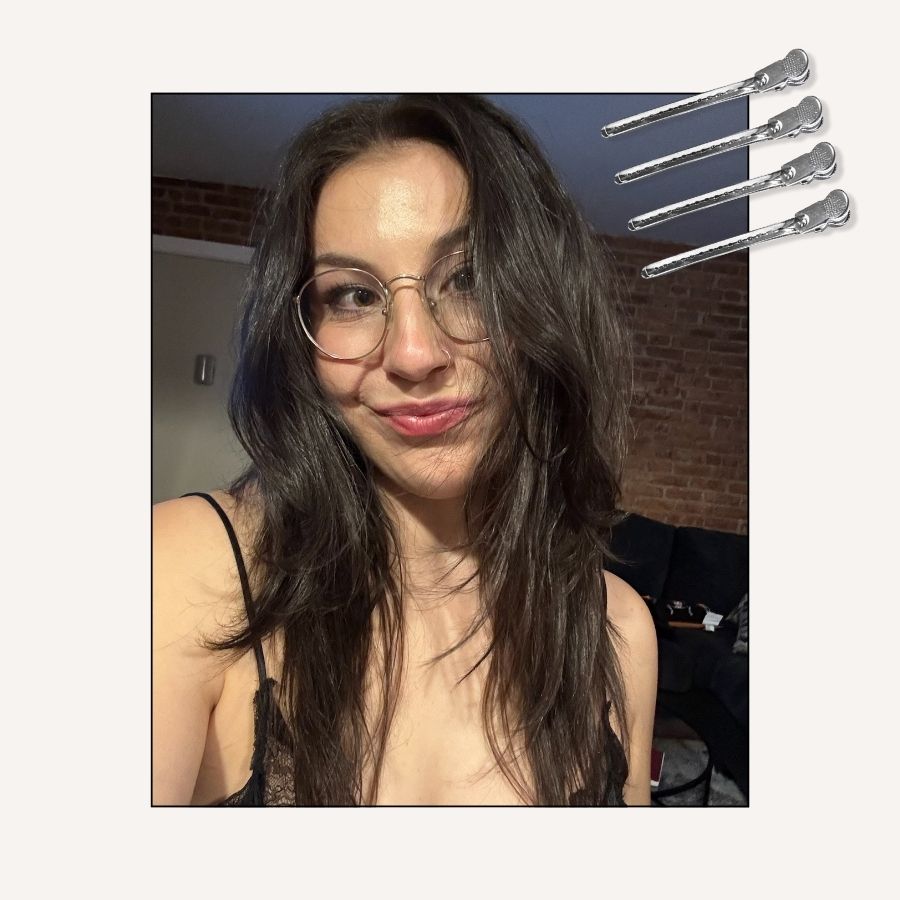
If you’ve ever wondered how hairstylists get that perfectly polished, expensive-looking bounce, this is the technique. Instead of relying on Velcro rollers, you create your own “set” by clipping each freshly blow-dried section into place while it cools.
Sabrina Porsche, celebrity hairstylist and Kristin Ess Hair Artist says the key is to “always start on damp hair (about 70–80% dry),” applying Kristin Ess Hair Instant Lift Volumizing Mousse around “the crown and front hairline” before you even pick up the round brush. From there, it’s all about directing airflow at the roots first to build lift before smoothing the rest of the hair.
The trick that made the biggest difference for me came after the blow-dry. Porsche recommends working in medium sections, then “roll[ing] it up with your fingers and secur[ing] it with a silver clip to set” once each piece is dry. Letting the clips sit for about 20 minutes gave my hair noticeably more staying power than when I’d normally brush everything out immediately.
After removing the clips, I finished with a lightweight serum (Kristin Ess Hair Working Serum is a go-to) through the mid-lengths and ends. The result was soft, glossy volume that held all day without feeling stiff. It requires a little more patience than a standard blowout, but if you’re after that salon-level bounce, it’s absolutely worth the extra 20 minutes.
The Over-Direction Trick
Volume: 5/5
Ease of use: 5/5
Lasting power: 4/5
Total score: 14/15
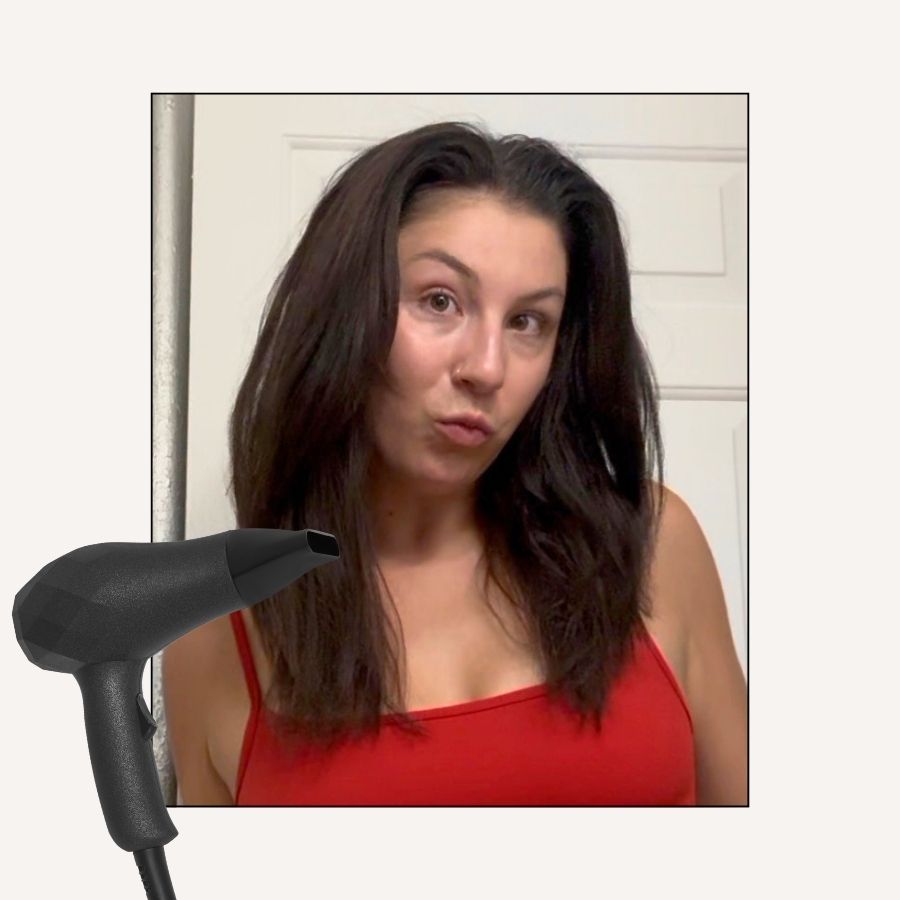
If there was one technique that Cindy Crawford-level volume, it’s this one. Celebrity hairstylist Ricky Hodge calls over-direction “the money move” because “you’re building internal structure, not just styling the surface.” In other words, the volume isn’t sitting on top of your hair—it’s built right into the foundation.
To do it, I took each section and pulled it “slightly opposite of where it naturally wants to sit,” then focused the blow dryer at the roots while holding it in that lifted position. The hardest part? Having the patience to let each section cool before dropping it.
Hodge explains that’s what helps “create real, lasting fullness,” and after trying it myself, I have to agree. Once I released each section, my hair fell back into place with noticeably more lift around the crown and face-framing layers, and it stayed that way for hours. It didn’t look teased or overly styled either—just fuller, bouncier and like I had naturally great hair. It’s one of those techniques that doesn’t require a plethora of products, adds maybe 30 seconds extra to your routine, and makes a world of difference.

Alyssa Rotunno, Contributing Writer
Alyssa Rotunno is a NYC-based writer with a focus on beauty, fashion, shopping, travel, and culture. Her work has appeared in Real Simple, InStyle, Travel+Leisure, Parade, and other national outlets, where she brings a sharp, timely lens to the products, places, and trends worth knowing. She’s endlessly curious about what people are talking about—and loves connecting the dots between trends, products, and real life.
