One of my favorite parts of the holiday season is the day I turn on holiday music, cozy up by the fire, and wrap Christmas presents. Swooning over beautifully wrapped gifts is basically a hobby of mine, and creating that same experience for others can be so fun! Taking a bit of extra time and effort to learn how to wrap gifts well has made me even more excited for this season of gift-giving. In fact, it’s turned into an unexpected creative outlet for me this time of year. I can’t help but admire all those gorgeous gifts as they lay under the tree in my living room—they add to the festivity and beauty of my holiday home!
If you want to go the extra mile with your gifting this year, read on for a few gift-wrapping tips to ensure all your packages look uniform, beautiful, and extra special.
1. Decide on a color palette.
There’s nothing wrong with grabbing a bag of assorted bows and whatever wrapping paper you like and calling it a day. But deciding on a color palette or theme can make your gifts look more polished and cohesive under your tree. My mind was honestly blown when I realized that you can even coordinate your gift wrap with the decorations on your tree (my Virgo rising is showing).
The best part: This doesn’t have to be complicated! For example, my theme last year was mint green, and this year, I’m going with pink and red. Other color palette ideas include classic red and green, gold and white, or blue and silver. To make it extra easy, look for multi-packs of wrapping paper that contain a few rolls in your chosen color palette.

Source: @charmedbycamille
2. Add texture with ribbons and bows.
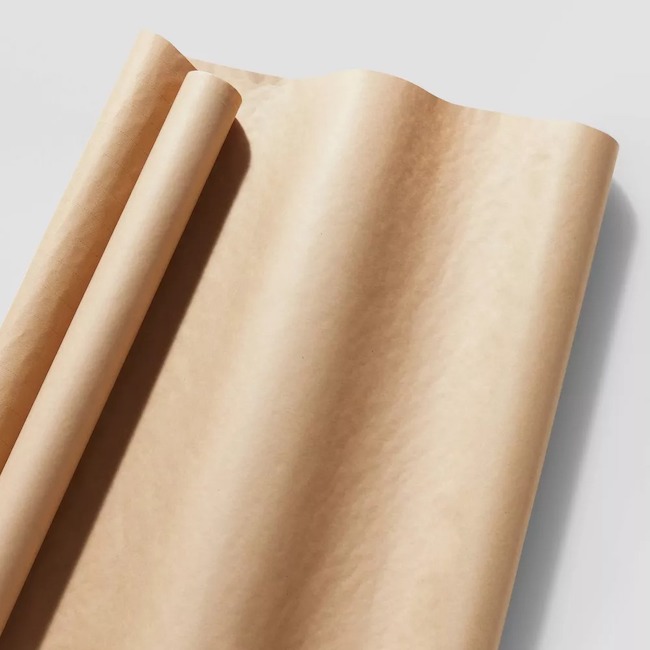
Gift wrap is just the first layer of a gift, and the bow is the true focal point. Once you’ve decided on your colors, pick out ribbons or pre-made bows that coordinate with your wrapping paper. This is where you can play around with different textures, such as velvet, satin, or even burlap ribbon. There’s also a reason for that iconic line in the song “My Favorite Things”—brown paper packages tied up with string are classic and chic, and this look couldn’t be easier to put together.
Choose a simple, solid-color wrapping paper that will make your ribbon pop, and the bow will be the star of the show. And if you’re drawn to patterned gift wrap, go simpler for the ribbon. For example, plaid gift wrap with a solid-color ribbon or twine always looks beautiful!
3. Get playful with gift tags and toppers.
Once you’ve added a bow, finish your gift off with a pretty tag or topper. If you’ve used solid-color gift wrap and ribbon, a gift tag with a design or pattern on it can add some flair to your present. A gift topper, whether it’s a sprig of greenery, a mini ornament, or a jingle bell or two, can also add a little something special. Bonus: these gift toppers are totally reusable, so you can continue using them for years to come. That is unless your loved one wants to keep the topper, and in that case, it’s all theirs!
4. Create your own designs.
For a present that’s unique, don’t be afraid to think outside the box when it comes to gift wrap. Layering gift wrap is one way to use all those awkward leftover strips of paper—simply take a strip of paper and tape it down the middle of your wrapped gift, like you would a ribbon. This works well if you have a mix of patterned and solid-color wrapping paper, and it’s a great way to reduce waste. Creating your own wrapping paper design using brown kraft paper is another cool way to personalize your gifts. Freehand the design with markers, or use a festive stamp to keep it consistent.

Source: @almostmakesperfect
5. Swap wrapping paper for fabric.
Another way to add texture to your gifts? Wrap them in fabric instead of paper. The fabric could even be part of the gift, like a scarf or blanket. You can tie the fabric in a bow, or use twine to wrap it all up nicely. This technique is called furoshiki gift wrapping, named after a traditional Japanese cloth that is used to carry things and wrap gifts. It’s become quite popular over the past few years, especially since it’s a more sustainable option than wrapping paper. You can find a variety of furoshiki cloths online, or create your own using fabrics you have around the house.


 "
"


